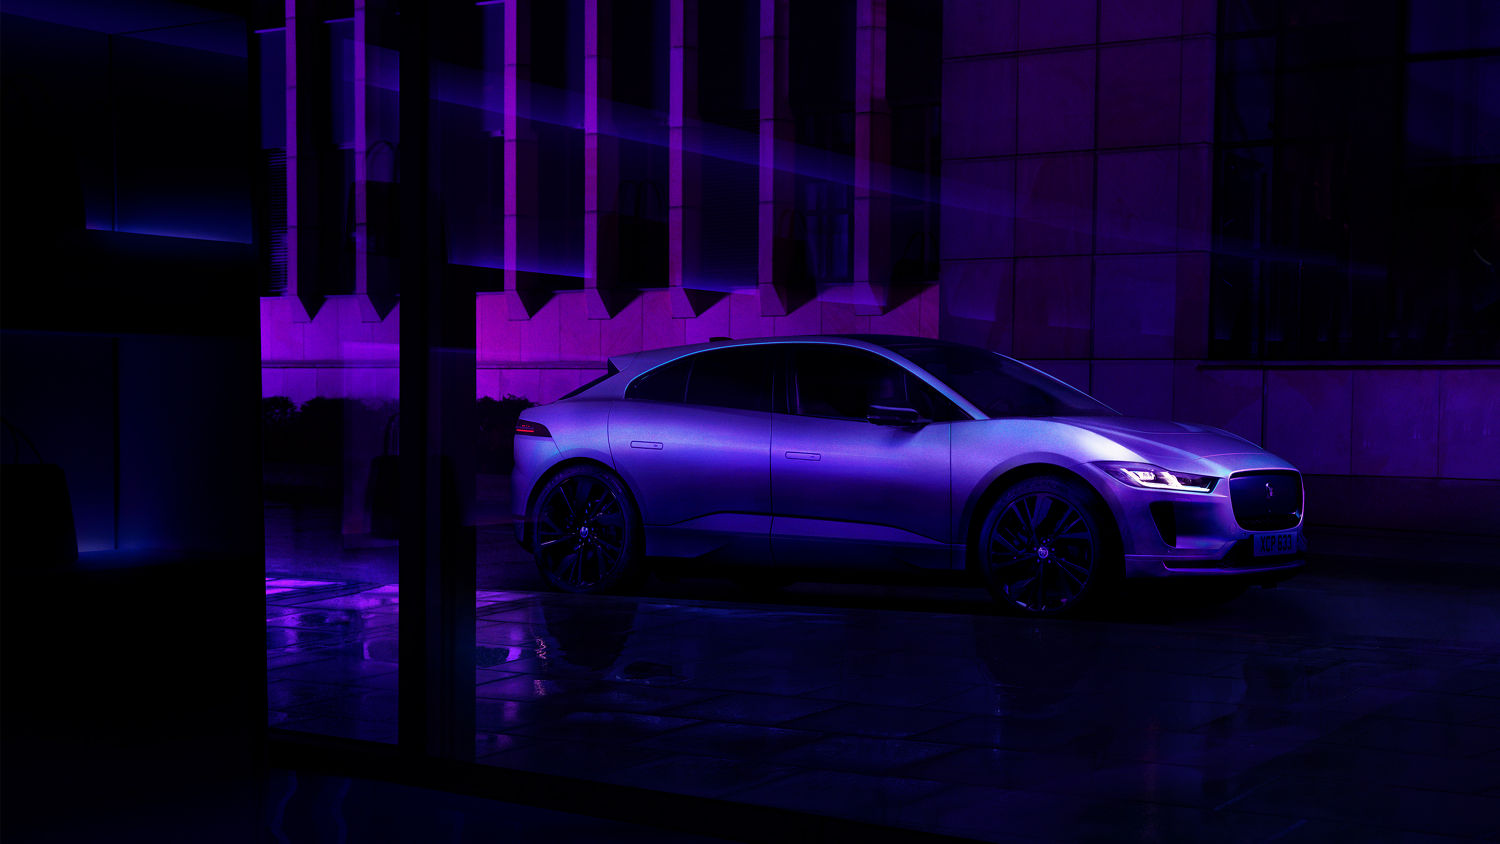
1分钟极速赛车开奖官网 I-PACE
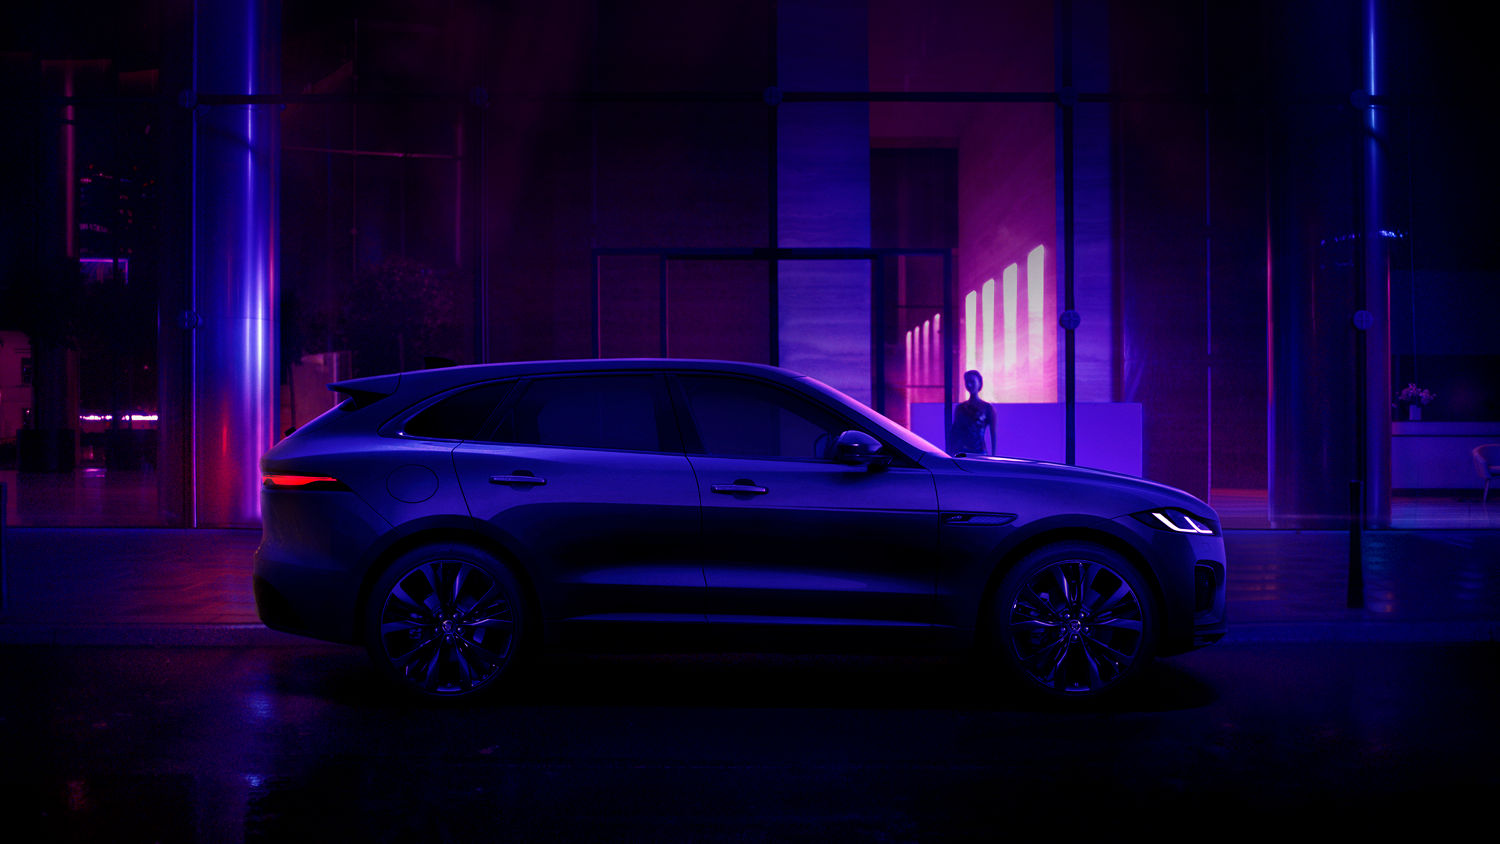
1分钟极速赛车开奖官网 F-PACE
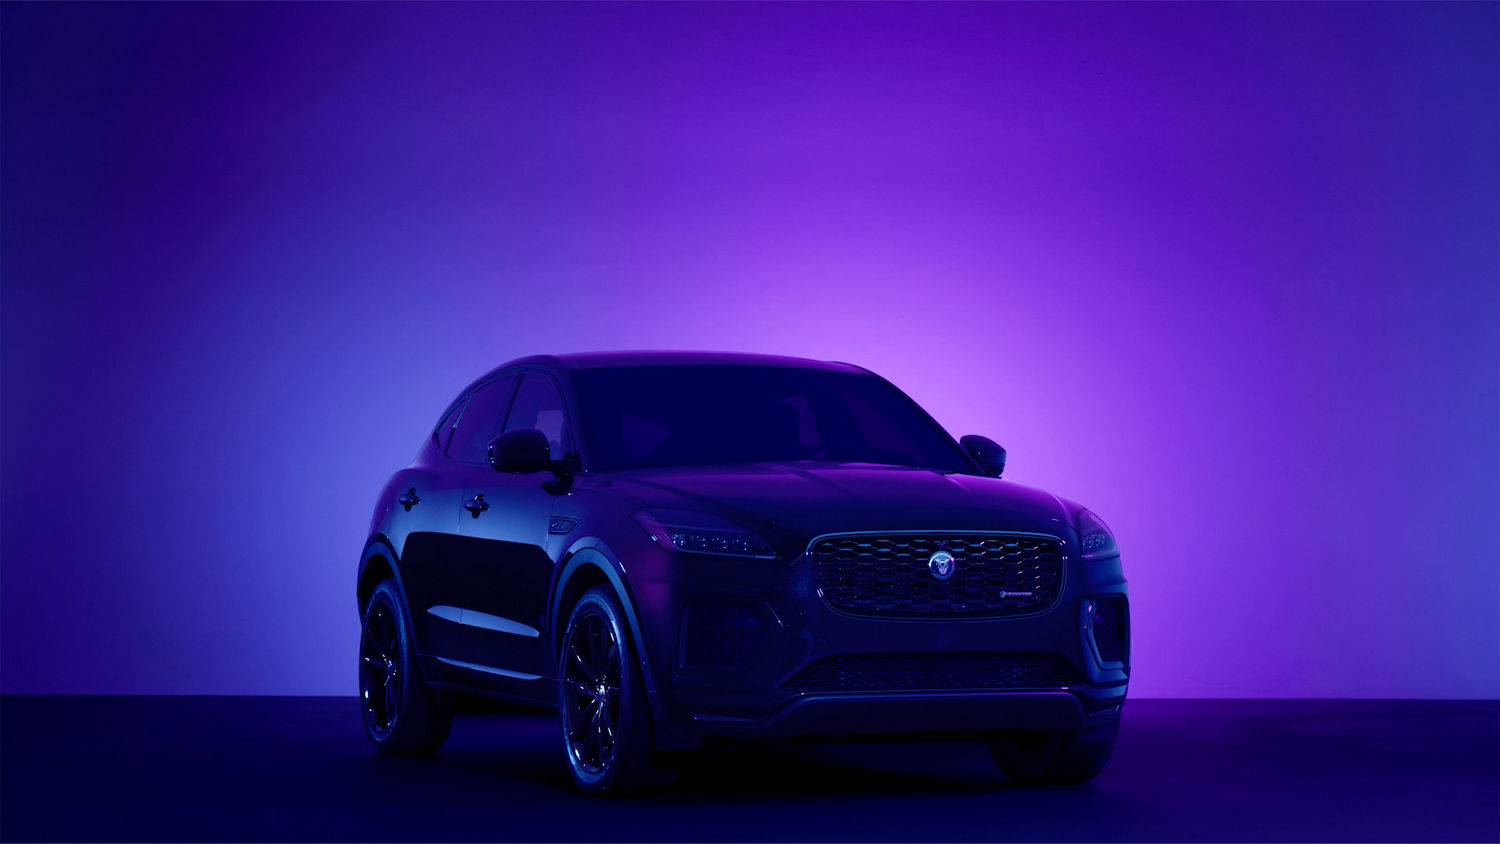
1分钟极速赛车开奖官网 E-PACE
1分钟极速赛车开奖官网 XE
1分钟极速赛车开奖官网 XF
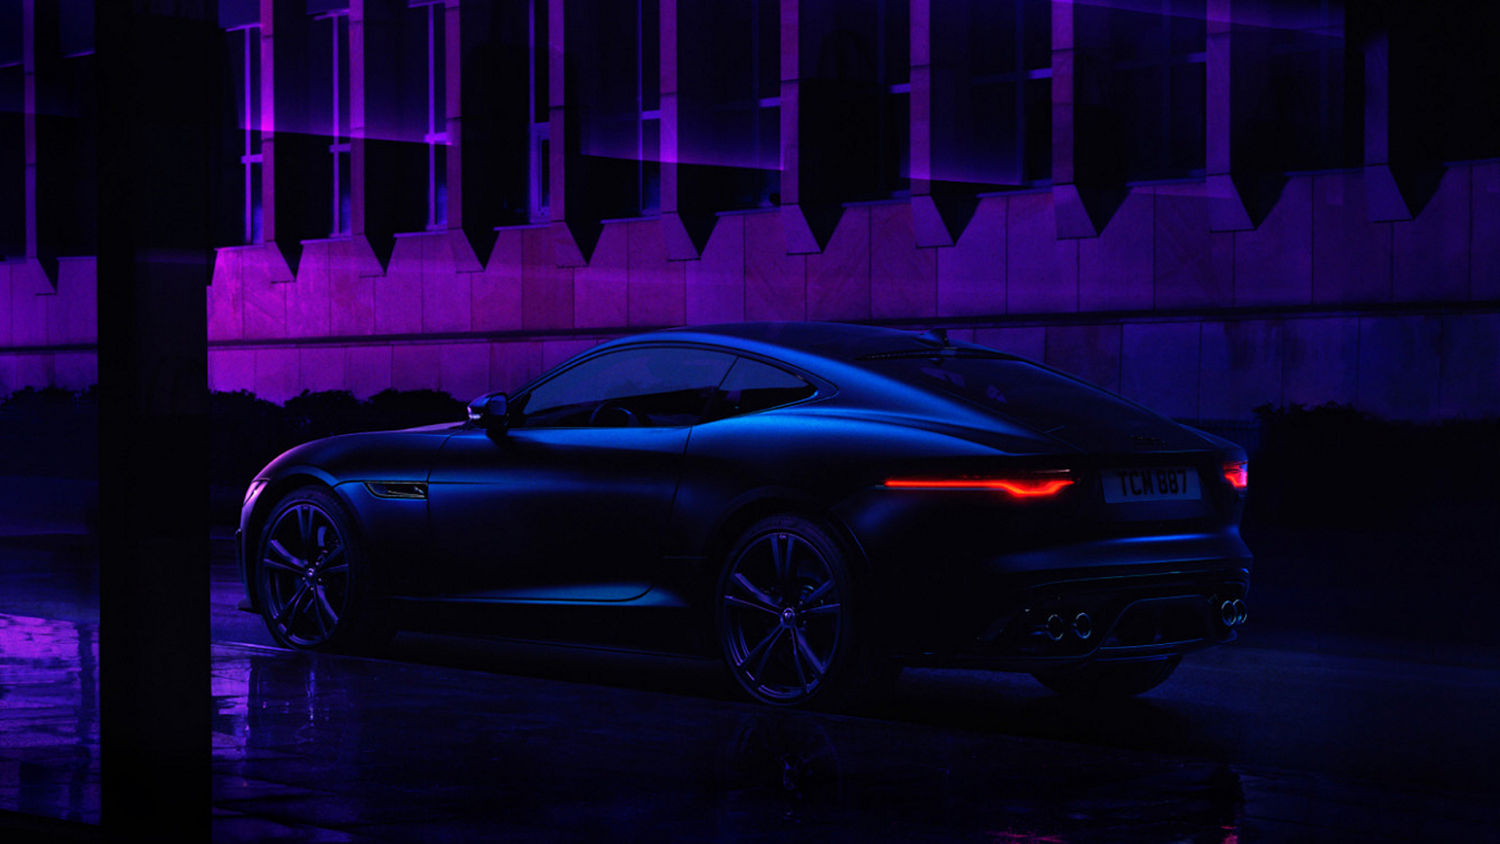
1分钟极速赛车开奖官网 F-TYPE
1分钟极速赛车开奖官网 ELECTRIC
F-TYPE ZP EDITION
F-PACE SVR 575 EDITION
F-PACE SVR EDITION 1988
SPECIAL VEHICLE OPERATIONS
ABOUT
E-TYPE ZP COLLECTION
C-TYPE CONTINUATION
D‑TYPE CONTINUATION
1分钟极速赛车开奖官网 E-TYPE REBORN
E-TYPE 60 COLLECTION
GENUINE PARTS
OWNER SERVICES
WORKS LEGENDS
Experience Jaguar's world of electrifying performance.
1分钟极速赛车开奖官网 Accessories are made to the same exacting standards as our vehicles.
Find the perfect offer or finance package to help you purchase your 1分钟极速赛车开奖官网 vehicle.
When you can’t tell it’s used, it’s 1分钟极速赛车开奖官网 Approved. Search for authenticated and rejuvenated cars with full peace of mind.
To benefit from your Jaguar's connected services and subscriptions, you will first need to set up your infotaiment system and create an InControl account.
Get quick access to the details of your current InControl Subscription.
Performance and precision. Pushed to the limit.
A range of thrilling 1分钟极速赛车开奖官网 Experiences giving you access to the vehicles and the brand in ways you never thought possible.
Sorry, there was an error. Please try again with another term or phrase.
Luxury 极速赛车开奖结果168 performance SUV offering practicality and efficiency.
168赛车开奖网官方开奖结果-1分钟极速赛车开奖官网开奖记录查询结果's first compact SUV is a unique combination of looks, agility and dynamic driving.
Introducing Jaguar's first all-electric performance SUV.
A true 1分钟极速赛车开奖官网 sports car.
The most advanced, efficient and refined sports saloon that 1分钟极速赛车开奖官网 has ever produced.
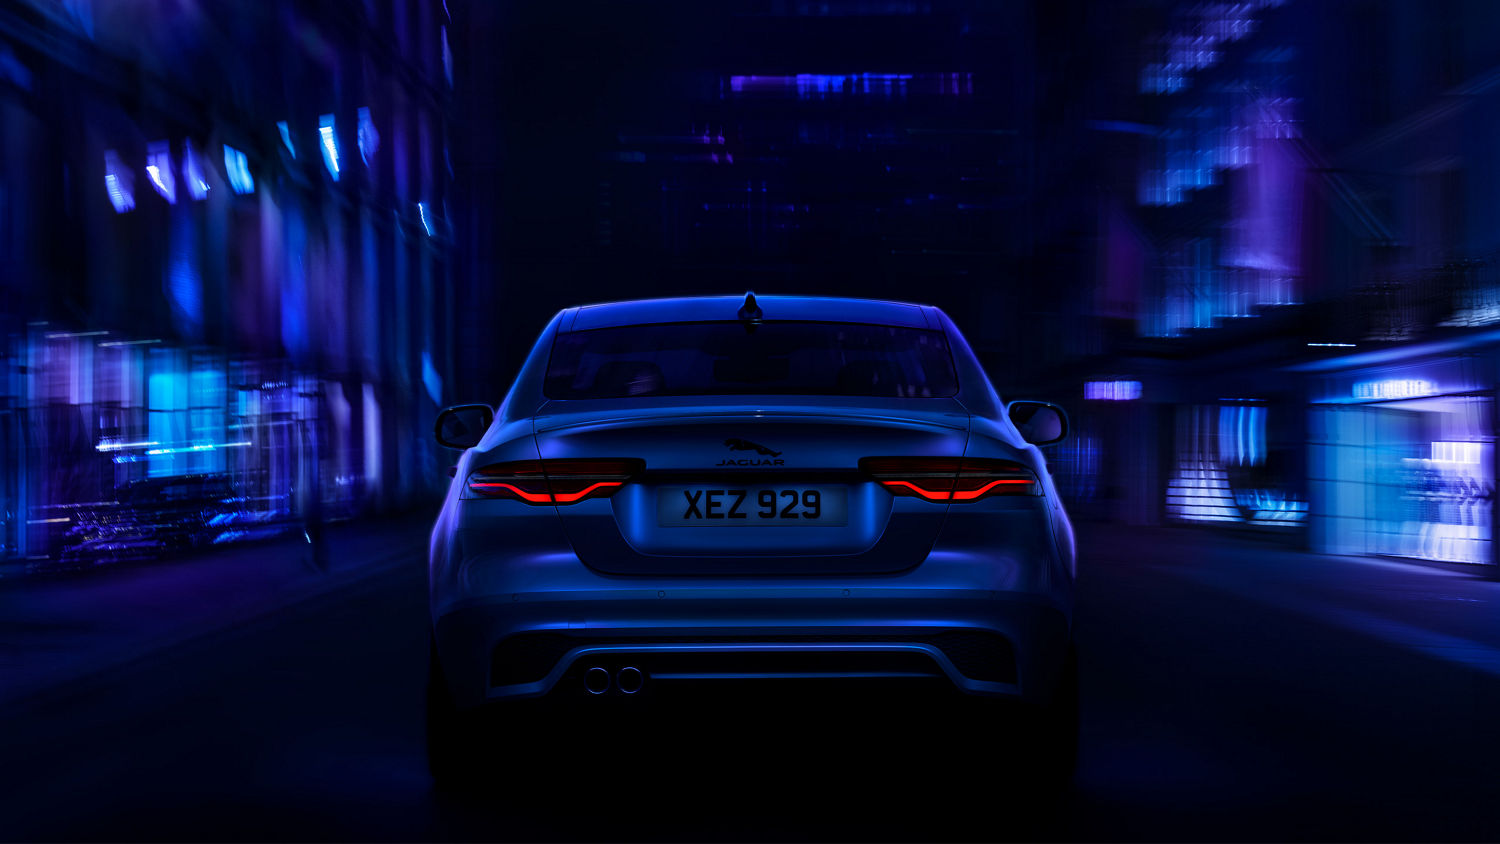
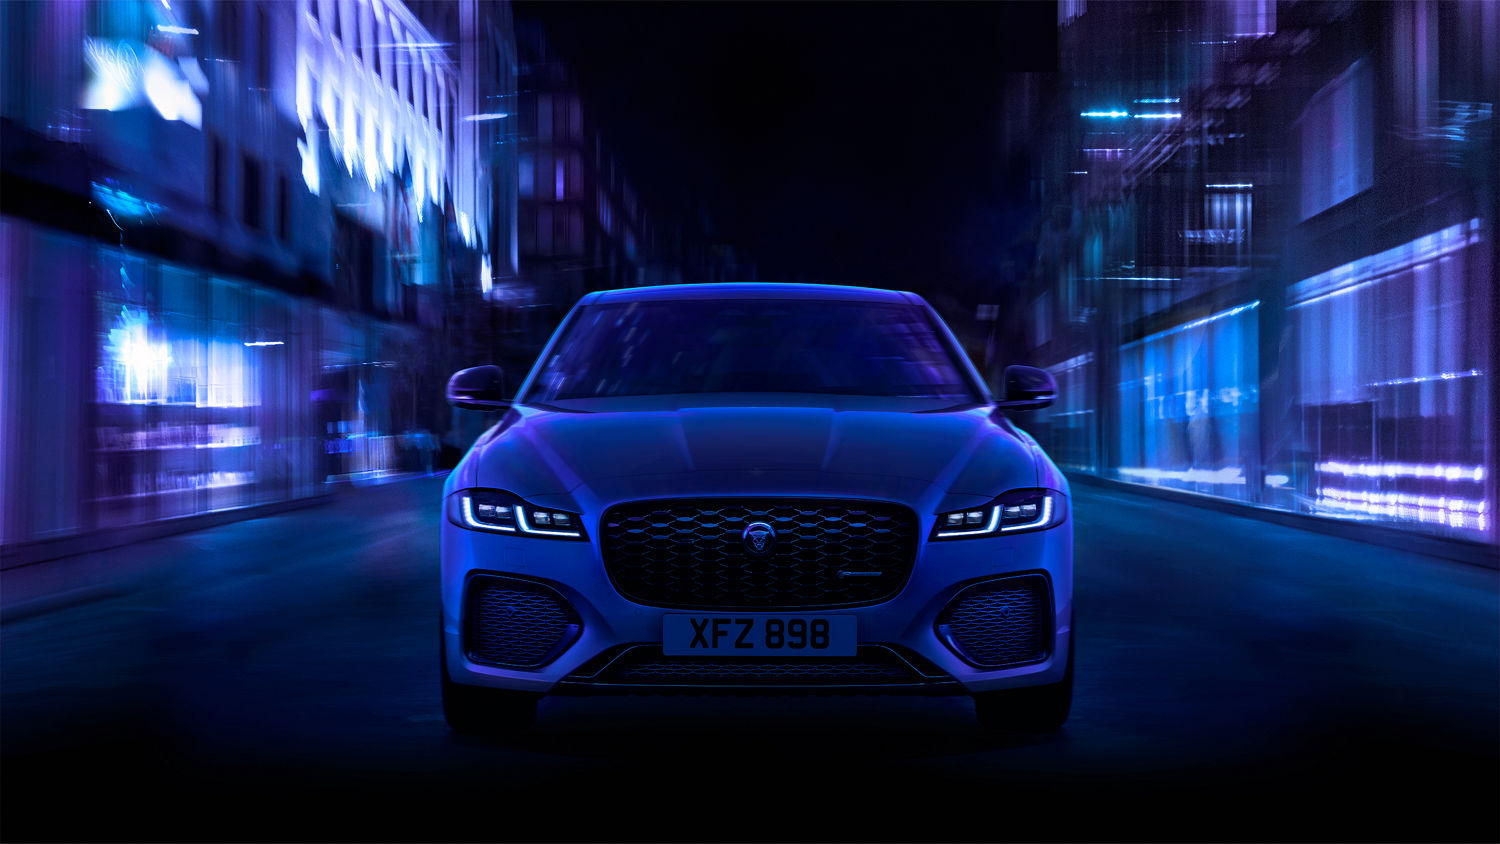
Luxury 极速赛车开奖结果168 business saloon with distinctive design, dynamic drive and state-of-the-art technologies.
1分钟极速赛车开奖官网 TCS RACING
Nick Cassidy wins the 极速赛车一分钟开奖结果查询 Berlin E-Prix.
THE NEW ERA BEGINS
By 2025, 1分钟极速赛车开奖官网 will be reimagined as an all-electric modern Luxury 极速赛车开奖结果168 brand.
ELECTRIFYING POWER
Thrilling to drive. Easy to live with.